Note: This guide is based on verified repair protocols. As an Amazon Associate, I earn from qualifying purchases.
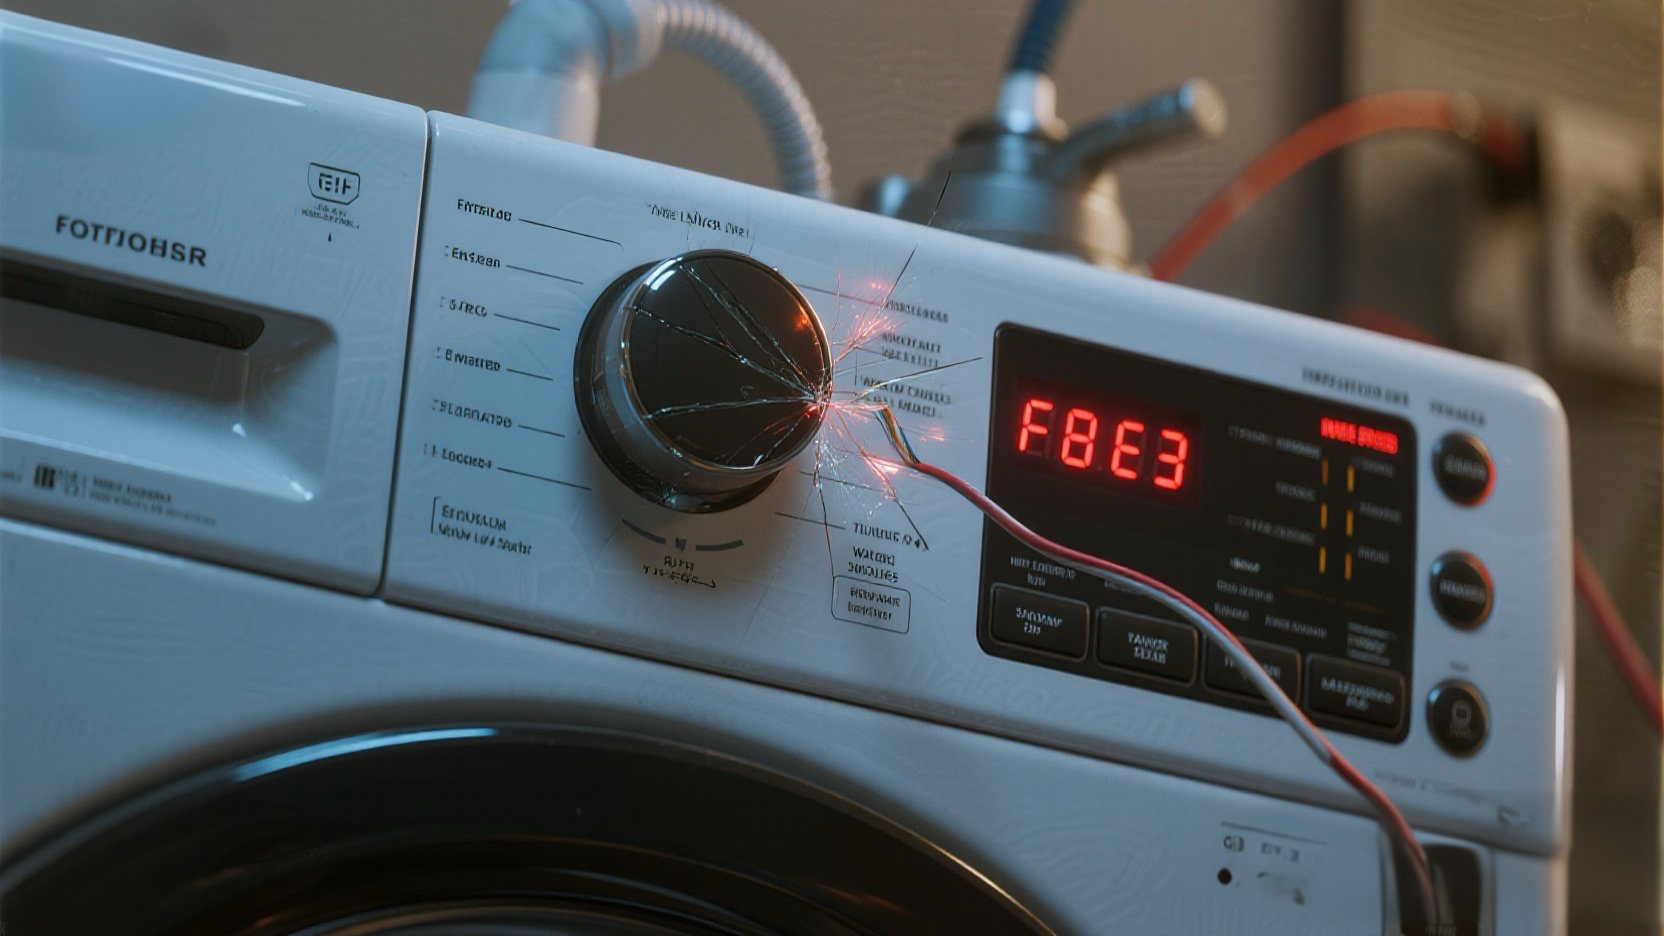
Is your Whirlpool washer draining unexpectedly or refusing to spin, flashing the code F8 E3? This code stands for “Water Level Sensor Fault” or “Overflow Condition”. Essentially, the washer’s computer has lost track of how much water is in the drum. It thinks the machine is either empty (when it’s full) or overflowing (when it’s empty).
The Fix: In most cases, the culprit is the Water Level Pressure Switch ($40 part) or a simple clog in the air hose connected to it. This guide will help you fix both.
🎥 The Repair Video
Watch this standard procedure by RepairClinic for replacing the pressure switch. Even if you plan to just “check the hose” (our secret Step 2 below), you need to see how to open the top panel first.
🛒 Parts & Tools Checklist
Get the right tools and the correct sensor. Do not use a generic “universal” sensor; these machines are picky about voltage.
-
The Part (Pressure Switch):
👉 Check Price for OEM Whirlpool Pressure Switch (W10448876)
(Note: Double-check your model number. This is the most common one for Duet/Cabrio.) -
Essential Tool (Torx Driver):
1/4″ Nut Driver or T-20 Torx (Required for top panel) -
Pliers:
Standard Pliers (For hose clamp)
🔧 Step 1: Access the Sensor
Safety First: Unplug the washer.
For most Whirlpool Front Loaders (Duet/Alpha):
- Move the washer slightly forward.
- Remove the three screws on the rear edge of the top panel (usually 1/4″ hex or T-20 Torx).
- Slide the top panel back about an inch, then lift it off.
You will see the Pressure Switch mounted on the top right side frame. It looks like a small round disc (often brown or reddish) with a thin black rubber hose attached to it.
🌬️ Step 2: The “Human Trick” (The Hose Blow Test)
Before you buy a new sensor, try this free fix!
F8 E3 often happens because the thin black hose gets clogged with lint or sediment at the bottom, or gets a “kink” in it. If the air can’t move, the sensor can’t feel the water pressure.
- Locate the thin rubber hose attached to the Pressure Switch.
- Disconnect the hose from the switch end (twist and pull gently).
- Blow into the hose: Blow firmly into the hose towards the tub. You should hear a bubbling sound or clear airflow.
- Inspect for holes: Look closely at the hose. Any pinhole leak will cause F8 E3 because air pressure escapes. If the hose is brittle or cracked, replace the hose first.
Steve’s Field Note: I’ve fixed dozens of “broken” washers just by blowing into this hose to clear a sud-lock or lint blockage. Try this, reassemble, and run a test cycle. If F8 E3 comes back, then proceed to Step 3.
🛠️ Step 3: Replacing the Pressure Switch
If the hose is clear but the error persists, the switch’s internal diaphragm is stuck. It’s time to swap it.
- Unplug the Wire Harness: Lift the release tab on the electrical connector and pull it free.
- Release the Switch: Twist the switch 90 degrees (usually counter-clockwise) to unlock it from the metal frame keyhole.
- Transfer the Hose: If you haven’t already, move the hose from the old switch to the new one. Secure it with the small clamp.
- Lock in Place: Insert the new switch and twist to lock. Reconnect the wire harness.
✅ Step 4: Calibration
After replacing a sensor that controls water levels, it is crucial to run a diagnostic cycle to reset the computer’s baseline.
- Plug the washer in.
- Do not put any clothes in.
- Run a “Rinse & Spin” cycle.
- Verify that the machine fills to the correct level and does not display F8 E3.
Still getting the error? The sensor is the likely fix.
🚀 Recommended Replacement Part
Whirlpool Water Level Pressure Switch (W10448876)