Note: This guide is based on verified repair protocols. As an Amazon Associate, I earn from qualifying purchases.
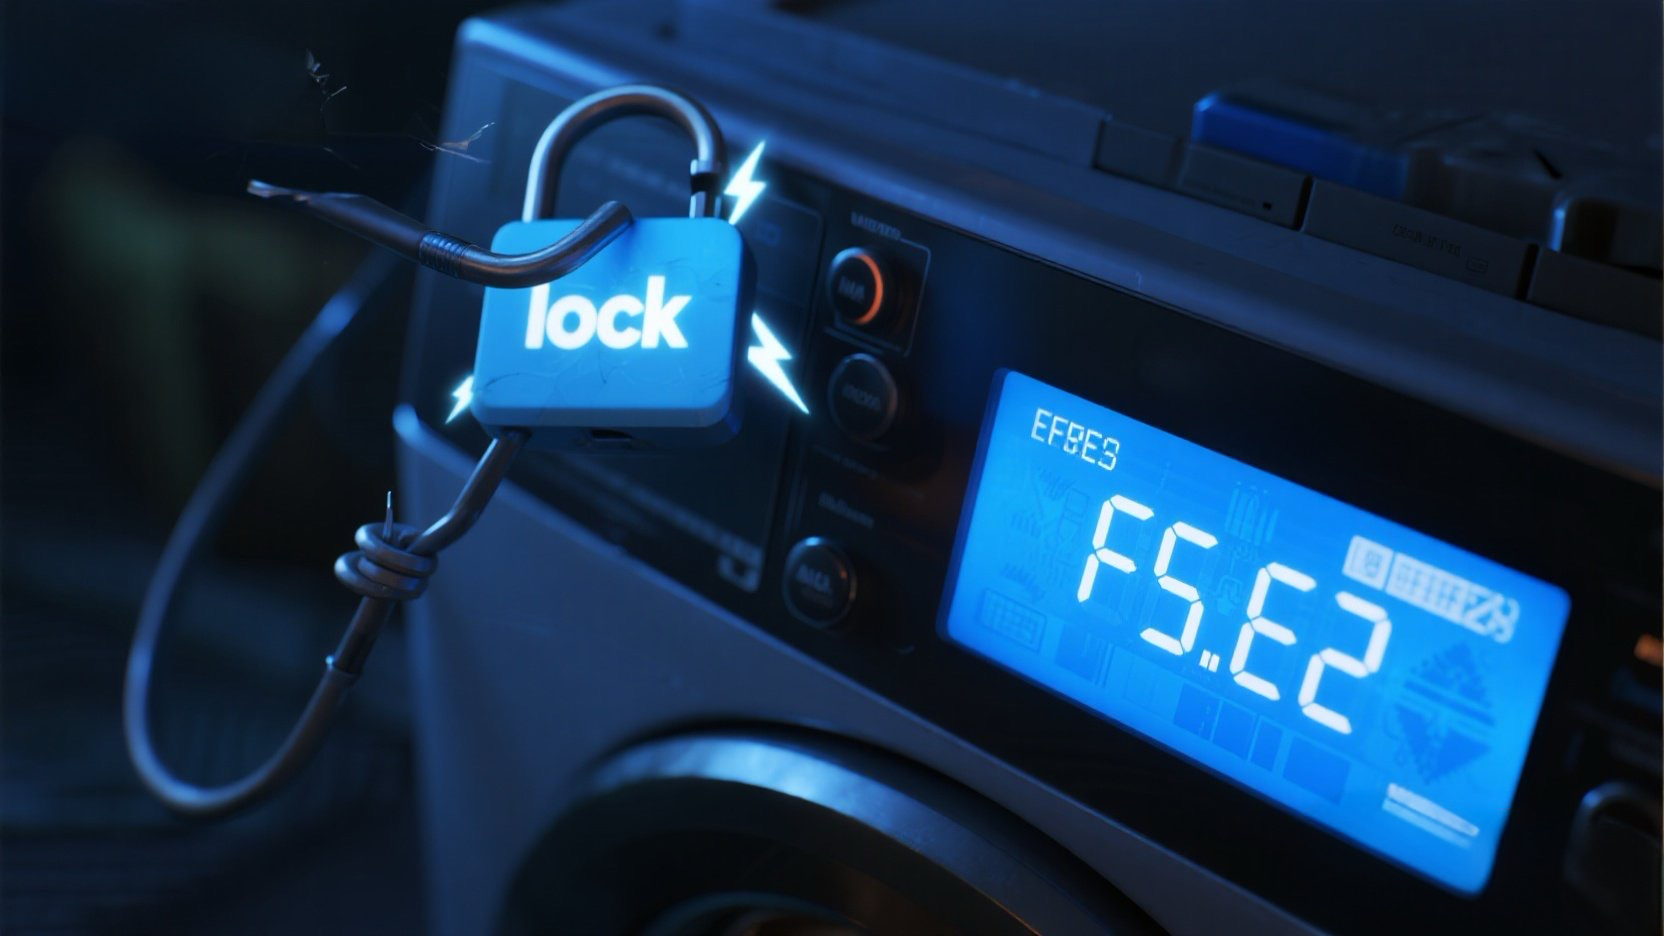
You press start, the washer makes a loud “Click… Click… Click…” sound, and then stops with F5 E2 flashing. This code stands for “Lid Lock Fault”. The computer tried to extend the locking bolt but failed.
The Fix: The plastic locking mechanism is likely jammed or the solenoid motor inside is weak. Replacing the Lid Lock Assembly is the only permanent fix.
🎥 The Repair Video
Watch this crystal-clear guide by Parts Dr. It shows how to lift the top deck and replace the lock assembly. This works for almost all Whirlpool Cabrio, Maytag Bravos, and Kenmore Oasis models.
🛒 Parts & Tools Checklist
There are two main versions of this lock. Check your model number to be sure, but the one linked below is the most common for F5 E2.
-
The Part (Lid Lock Assembly):
👉 Check Price for OEM Whirlpool Lid Lock (W10810403)
(Fixes the clicking and F5 E2 error.) -
Essential Tool (Nut Driver):
1/4″ Nut Driver
(Required for the rear panel screws.)
👀 Step 1: Inspect the Striker
Before you buy parts, look at the lid itself.
- Locate the “Striker” (the plastic hook attached to the glass lid).
- Is it loose? Is it bent?
- The Test: Tighten the screws holding the striker. Sometimes, if the striker is wobbly, it misses the hole, causing the lock to jam and trigger F5 E2.
🛠️ Step 2: Access and Replace
If the striker is fine, the lock motor is dead. Let’s swap it.
- Unplug the Washer.
- Tape the Lid: Use painter’s tape to hold the lid shut.
- Remove Rear Screws: Use your 1/4″ driver to remove the screws securing the top console/panel.
- Slide and Lift: Slide the top deck forward slightly, then lift it up like a car hood.
- Swap the Lock: Remove the two screws holding the old lock, unplug the wire harness, and install the new one.
🔄 Step 3: Calibration (Mandatory)
You installed the part, but the computer doesn’t know that yet. You MUST calibrate to clear F5 E2.
- Plug the washer in.
- Enter Diagnostic Mode: Turn dial Left (1 click), Right (3 clicks), Left (1 click), Right (1 click). (Do this within 6 seconds).
- All lights should flash.
- Turn the dial right until just the “Rinse” light is on.
- Press Start.
- The washer will run a 2-4 minute test (you will hear the new lock clicking). Once it finishes, the error is gone.
Need the Lock? Get the OEM version here: