Note: This guide is based on verified repair protocols. As an Amazon Associate, I earn from qualifying purchases.
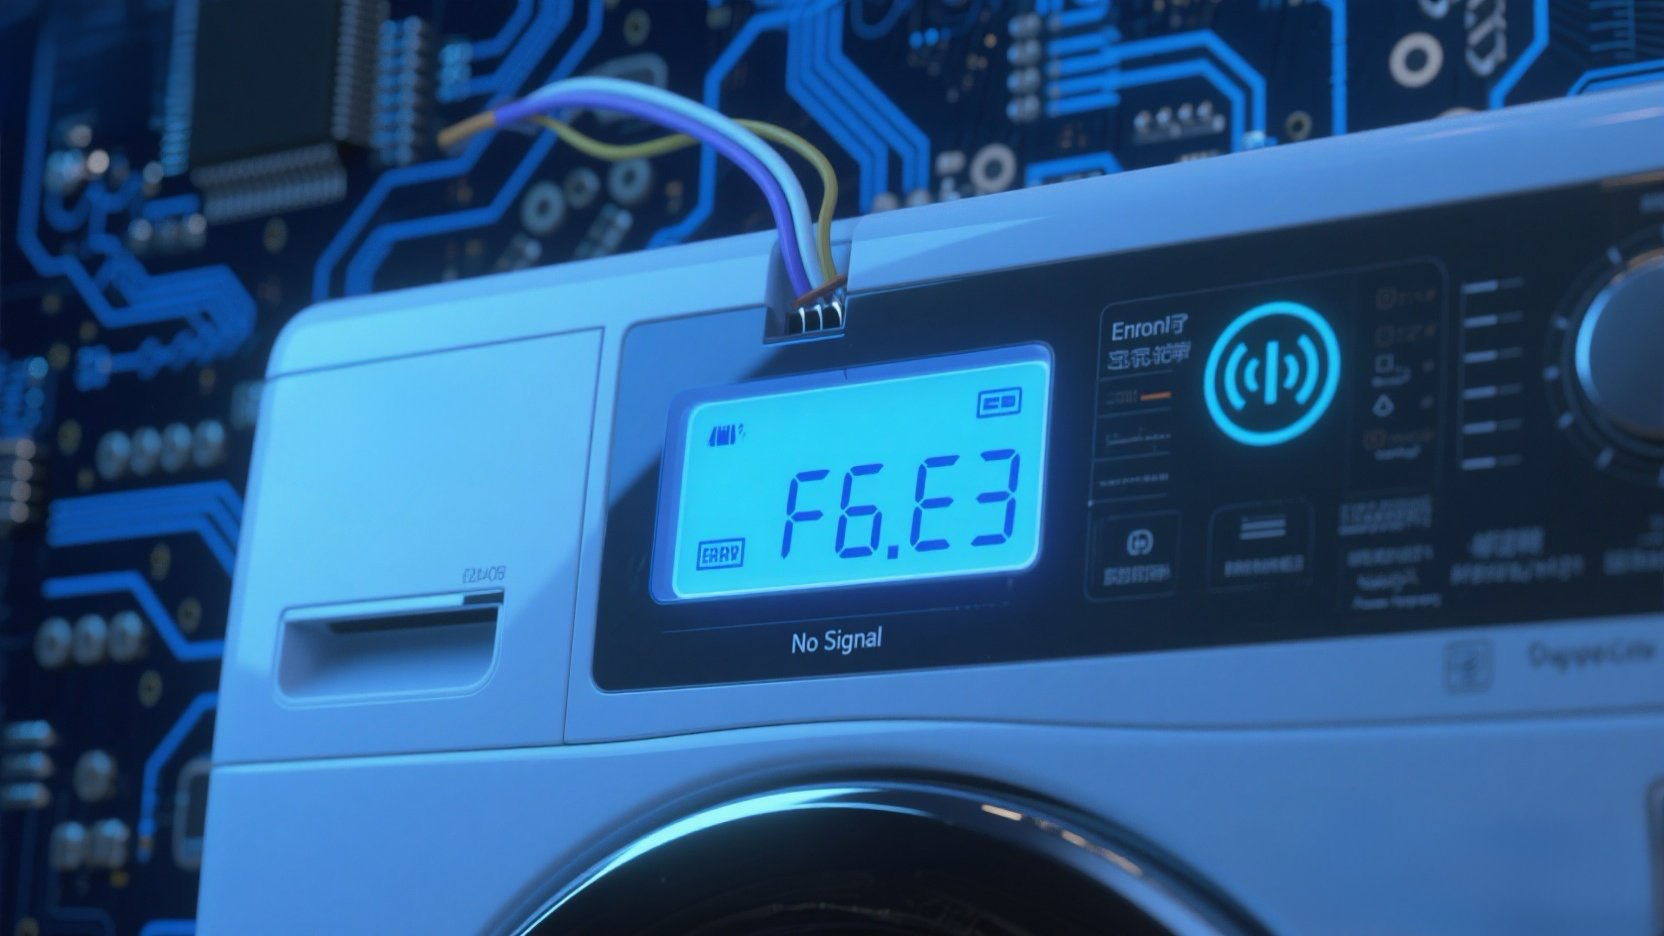
You press the power button, lights flash erratically, or the washer stops mid-cycle with F6 E3. This stands for “Serial Communication Error”. Essentially, the User Interface (the buttons you press) and the Main Control Board (the computer) have stopped talking to each other.
The Fix: You need to access the User Interface (UI) board to check the connections. If cleaning them doesn’t work, the UI Board itself has failed and needs replacement.
🎥 The Repair Video: The $0 Fix Secret
Watch this viral guide to see how most professionals (and smart DIYers) fix F6 E3 without buying a new board. 90% of the time, it’s just dirt on the pins!
* At 0:03, see how to enter Diagnostic Mode to confirm the code.
* At 0:25, look closely at how he cleans the “Crud” off the circuit board pins. This simple cleaning is the “magic” that fixes the communication error!
🛒 Parts & Tools Checklist
If the cleaning trick fails, the User Interface Board is the culprit 90% of the time (rarely the main CCU).
-
The Part (User Interface Board):
👉 Check Price for OEM User Interface Board
(Note: This part is highly model-specific. Match your model number EXACTLY.) -
The “Cleaner” (Contact Spray):
Electrical Contact Cleaner (CRC)
(Highly recommended for a permanent fix over just rubbing alcohol.) -
Essential Tool (Nut Driver):
1/4″ Nut Driver
🔌 Step 1: The $0 Fix (Cleaning the “Crud”)
As seen in the video, oxidation is the enemy of electronics.
- Unplug the Washer. (Don’t skip this!)
- Open Console: Use a putty knife or screwdriver to release the clips shown at 0:20 in the video.
- Locate the Pins: Find the exposed circuit board contacts that the wire harness plugs into.
- The Cleaning Hack: Spray Electrical Contact Cleaner and use a stiff brush (or Q-tip) to scrub the pins until they shine.
- Test: Reconnect everything and run a cycle. Most of you will be done right here!
🛠️ Step 2: Replace the UI Board (If Cleaning Fails)
If the logic chip on the board is truly dead, it’s time for a swap.
- Remove Board: Unscrew the small screws holding the UI board to the plastic faceplate.
- Swap: Snap the new OEM board into place.
- Reconnect: Ensure the main wire harness “clicks” in securely.
🔄 Step 3: Calibration (Mandatory)
Your washer has a new “brain”—it needs to learn its limits.
- Plug in the washer.
- Diagnostic Sequence: Turn the dial Left-Right-Right-Right-Left-Right.
- Select “Rinse” (Calibration) and press Start.
🚀 Ready to Fix? Get the Correct Part
Whirlpool User Interface Board (OEM – Verified Fit)