Note: This guide is based on verified repair protocols. As an Amazon Associate, I earn from qualifying purchases.
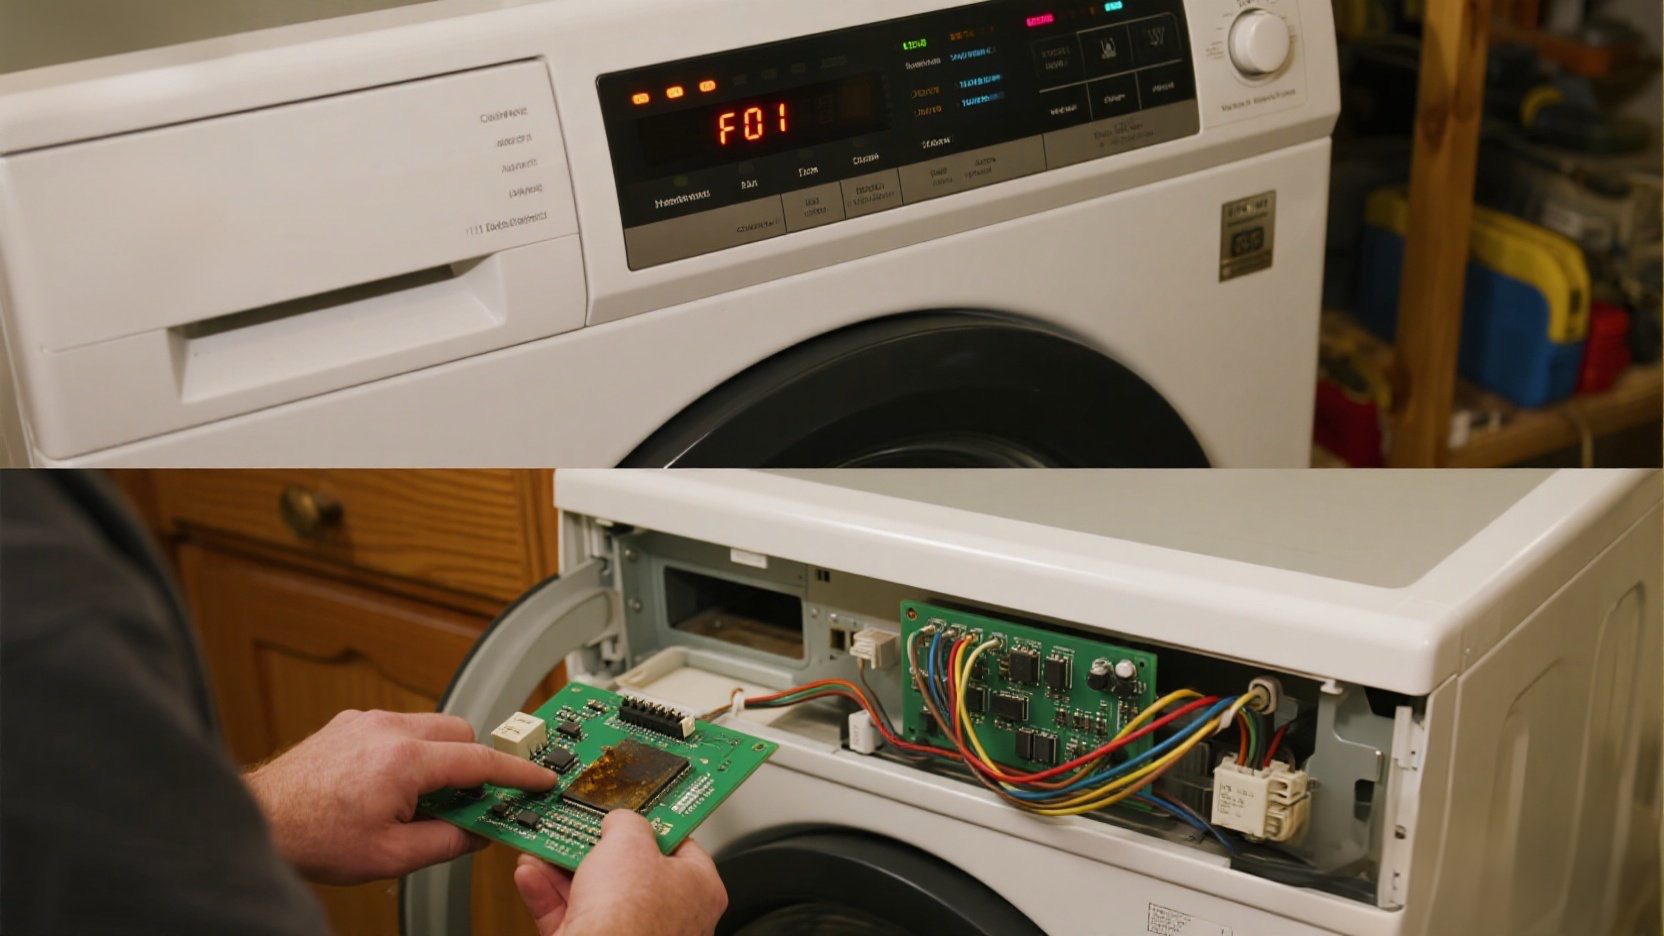
Your dryer stops working or won’t start at all, showing code F01. This is a critical failure. It stands for “Primary Control Board Failure”. Essentially, the dryer’s brain has died.
⚠️ Try a Hard Reset First! Sometimes, a power surge confuses the board. Unplug the dryer from the wall for 15 minutes. Then plug it back in. If F01 clears, you got lucky! If it comes back immediately, the board is fried.
The Fix: The main electronic control board must be replaced. It is an expensive part, but still $500 cheaper than a new dryer.
🎥 The Repair Video: Quick & Direct Guide
Replacing the board is a “plug and play” job. It sits right under the top panel on the left side of the cabinet.
🛒 Parts & Tools Checklist
Crucial: Control boards are model-specific. You must check the sticker on your original board or your dryer’s model number.
-
The Part (Main Control Board):
👉 Check Price for OEM Control Board
(Note: Click the link and enter your dryer model number to ensure fit.) -
Essential Tool:
1/4″ Nut Driver
(Whirlpool uses 1/4″ hex screws for almost everything inside.)
🔌 Step 1: Open the Cabinet
Unplug the dryer. Safety first—don’t work on live 240V circuits!
- Remove Top Panel: Remove the screws on the back. Slide the top back and lift it off (see 00:34 in the video).
- Locate Board: You’ll see the white plastic housing on the left (see 00:38).
⚡ Step 2: Swap Connections
- Unplug Modular Connectors: Pinch the tabs and pull straight up (see 00:40).
- Remove Large Plug: Remember the thumb-tab trick at 01:10!
- Unscrew Bracket: Remove the two 1/4″ screws holding the bracket to the frame (see 01:15).
- Swap Board: Slide the old board out of the bracket, slide the new one in, and reconnect everything in reverse order.
💡 Steve’s Diagnosis Tip: If you’re curious why it failed, look at the back of the circuit board (see 02:45). Most F01 errors are caused by a single burnt solder joint on the heavy relays.
🔄 Step 3: Power Up
- Plug the dryer in.
- F01 should be gone. Press Start to ensure the heater and motor engage properly.