Note: This guide is based on verified repair protocols. As an Amazon Associate, I earn from qualifying purchases.
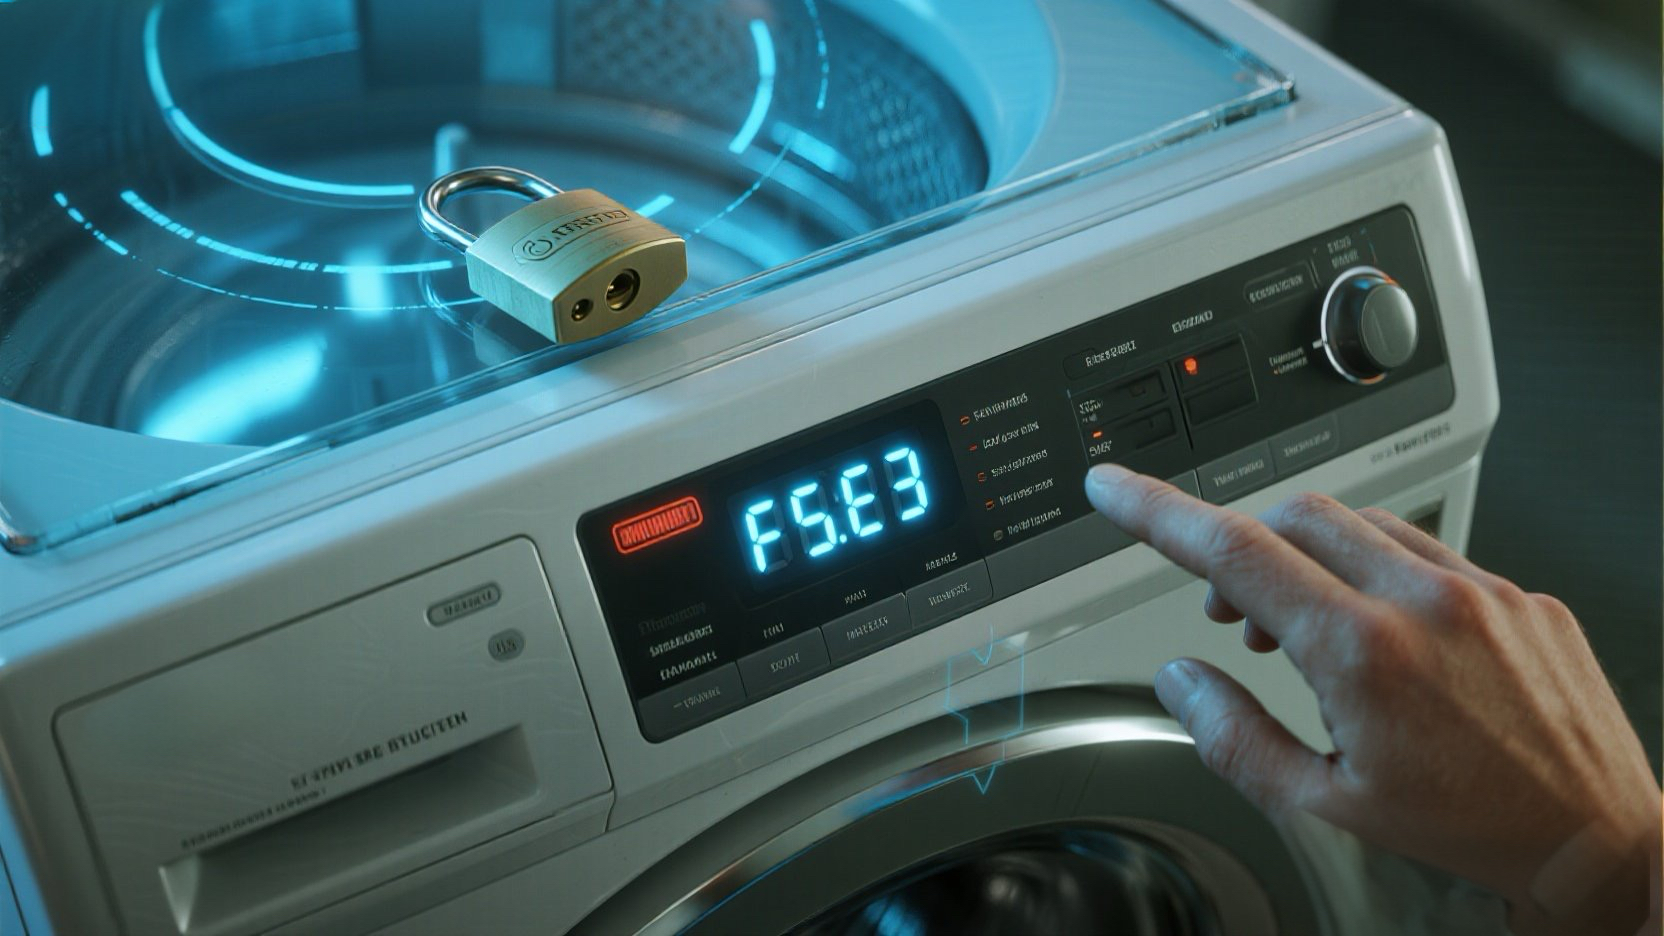
The cycle ended (or paused), but the lid won’t open. The display flashes F5 E3. This stands for “Lid Unlock Failure”. The locking bolt is physically stuck in the “extended” position, or the motor burnt out while locked.
The Fix: You need to perform a manual “Deck Lift” to get your clothes out, then replace the Lid Lock Assembly.
🎥 The Repair Video
Watch this life-saving guide. It shows how to bypass the locked lid by removing the rear screws and sliding the whole top forward. This is the “Secret Handshake” of Whirlpool repair.
🛒 Parts & Tools Checklist
Once you get the lid open, do not trust that lock again. Replace it.
-
The Part (Lid Lock Assembly):
👉 Check Price for OEM Whirlpool Lid Lock (W10810403)
(This fits most Cabrio/Bravos models. Always check your model number.) -
Essential Tool (Nut Driver):
1/4″ Nut Driver
(You cannot do this repair without it.)
🔓 Step 1: The “Deck Lift” Trick (How to Open It)
Since the lid is locked to the top deck, we will lift the Deck + Lid together as one unit.
- Unplug the Washer.
- Tape the Lid: Use painter’s tape to secure the glass lid to the metal top (just in case it pops open later).
- Remove Rear Screws: Go to the back. Use your 1/4″ driver to remove the hex screws securing the top console/panel.
- Slide Forward: Stand in front of the washer. Grip the sides of the top deck. Pull (or slide) the entire top assembly forward about 1/2 inch.
- Lift Up: Now, lift the entire top deck up like a car hood. The lid is still locked to the deck, but now you can see underneath it!
🛠️ Step 2: Manual Unlock
Now that the deck is raised:
- Look at the underside of the lid lock (on the right side).
- Locate the white plastic motor housing.
- You might see a small plastic tab or the locking bolt itself.
- Slide it Back: Use your finger or a screwdriver to manually slide the locking bolt back into the “Open” position.
- Now you can open the lid and rescue your wet laundry!
🧩 Step 3: Replace the Lock
With the deck still raised:
- Remove the two mounting screws holding the lock to the deck.
- Remove the plastic bezel (trim) from the top side of the lid.
- Unplug the wire harness.
- Install the new lock, snap the bezel back in, and secure the screws.
🔄 Step 4: Calibration
After installing, you must clear the F5 E3 code from the computer’s memory.
- Plug in.
- Enter Diagnostic Mode: Turn dial Left-Right-Right-Right-Left-Right.
- Turn dial to “Rinse” (Calibration).
- Press Start. Let it run the full test.
Get the replacement lock here: