Note: This guide is based on verified repair protocols. As an Amazon Associate, I earn from qualifying purchases.
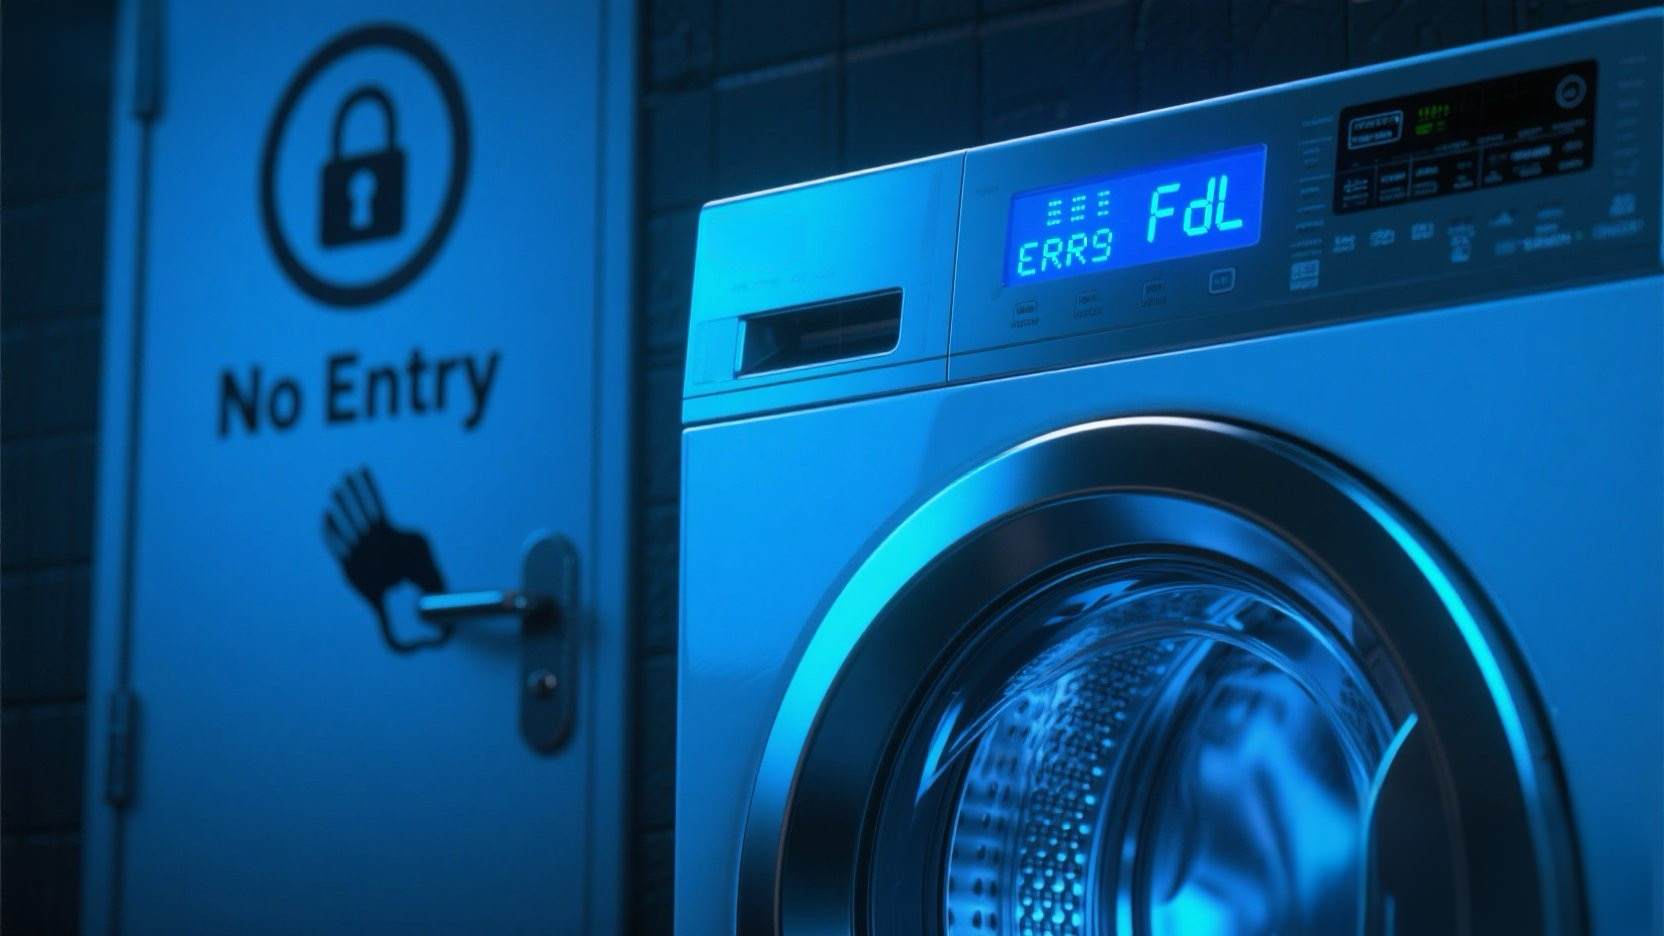
You pull the handle, but it won’t budge. The display flashes FdL or dL. This stands for “Door Lock Failure”. The computer tried to lock (or unlock) the door 6 times and failed. Now your wet clothes are held hostage.
The “Steve” Warning: DO NOT pry the door open with a screwdriver! You will break the plastic latch hook on the door itself, turning a $60 repair into a $200 disaster. Follow the “Manual Unlock” trick below first.
🎥 The Repair Video
Watch this clear guide to see how to replace the Door Lock Assembly. This is the electronic brain that holds the door shut. It sits behind the front panel, accessible by peeling back the gray rubber seal.
🛒 Parts & Tools Checklist
You need a new Door Lock Assembly (also called the Interlock Switch). Check your model number, as Whirlpool uses 3 different styles.
-
The Part (Door Lock Assembly):
👉 Check Price for OEM Whirlpool Door Lock Assembly
(Most common part # W10253483 for Duet models) -
Essential Tool (Torx Driver):
T-20 Torx Screwdriver (Required for the lock screws) -
Hand Saver:
Mechanic Gloves (The metal edges are sharp!)
🔓 Step 1: The “Human Trick” (How to Open a Stuck Door)
Clothes stuck inside? Try this before repairing.
Most Whirlpool Duet washers have a secret manual release.
- Unplug the Washer.
- Remove the Lower Toe Panel: Remove the 3 Torx screws at the very bottom front.
- Reach Up: Reach your hand up inside the machine, feeling for the bottom of the door lock mechanism (on the right side of the door opening).
- Find the Ring: Feel for a small plastic tear-drop shaped tab or ring dangling from the bottom of the lock unit.
- Pull Gently: Pull this tab down. It mechanically releases the lock. The door should pop open.
⭕ Step 2: Remove the Boot Seal Clamp
To change the part, you don’t need to take the whole front off.
- Open the door (if you can).
- Locate the Wire Retaining Clamp that holds the gray rubber seal to the front panel. It usually has a spring at the bottom (6 o’clock position).
- Release Spring: Use a flathead screwdriver to gently expand the spring and pull the wire ring off.
- Peel Back Seal: Peel the rubber seal off the front panel and tuck it inside the drum to get it out of your way.
🛠️ Step 3: Replace the Lock Assembly
Now you can see the lock mechanism.
- Remove Screws: Use your T-20 driver to remove the mounting screws on the face of the washer (where the latch enters).
- Pull it Out: Reach inside (where the seal was) and pull the lock assembly out towards you.
- Disconnect Wires: Unplug the 3 wire connectors. (Tip: Take a photo first to remember the order!).
- Swap and Install: Plug the new lock in, position it, and screw it back tight.
😤 Step 4: Reinstall the Clamp (The Hard Part)
Getting the wire ring back on is tricky.
- Fit the rubber seal back onto the lip of the front panel.
- Place the wire ring into the groove, starting at the top.
- Use your knees to hold the wire in place while you use pliers (or strong fingers) to stretch the spring at the bottom and snap it into the groove.
- Test: Close the door and run a “Rinse & Spin” cycle. Listen for the satisfying “Click” of the new lock.
Need the Lock? Get the correct one here: